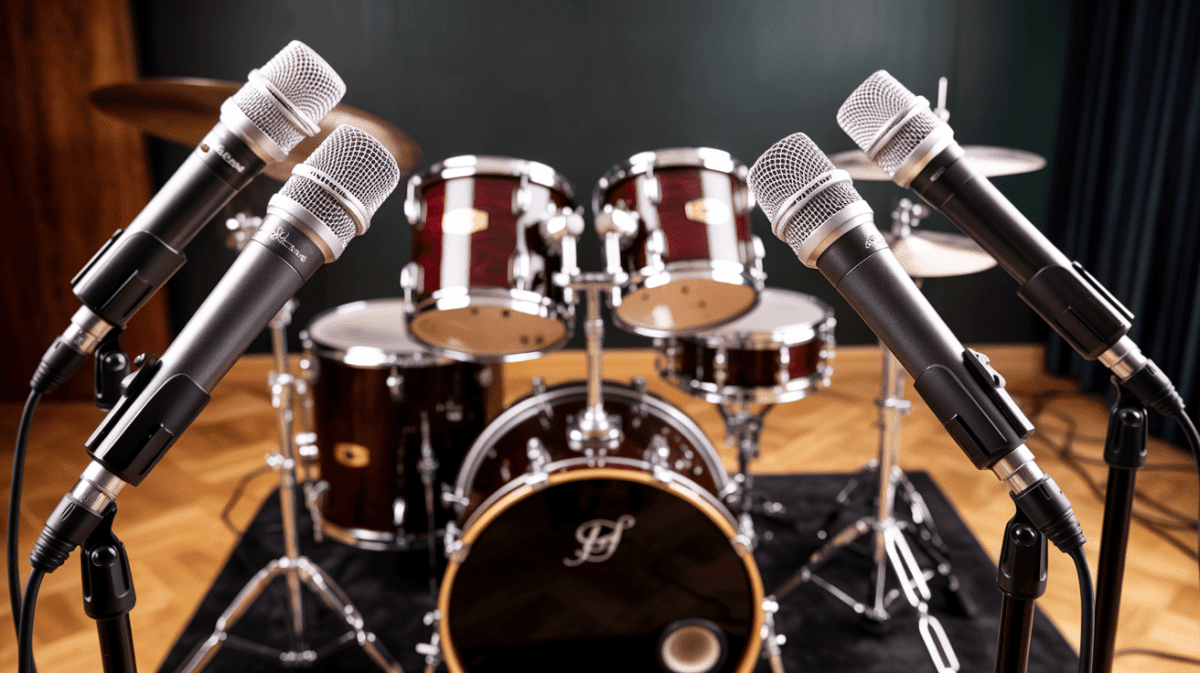
Tips for Getting a Professional Sound:
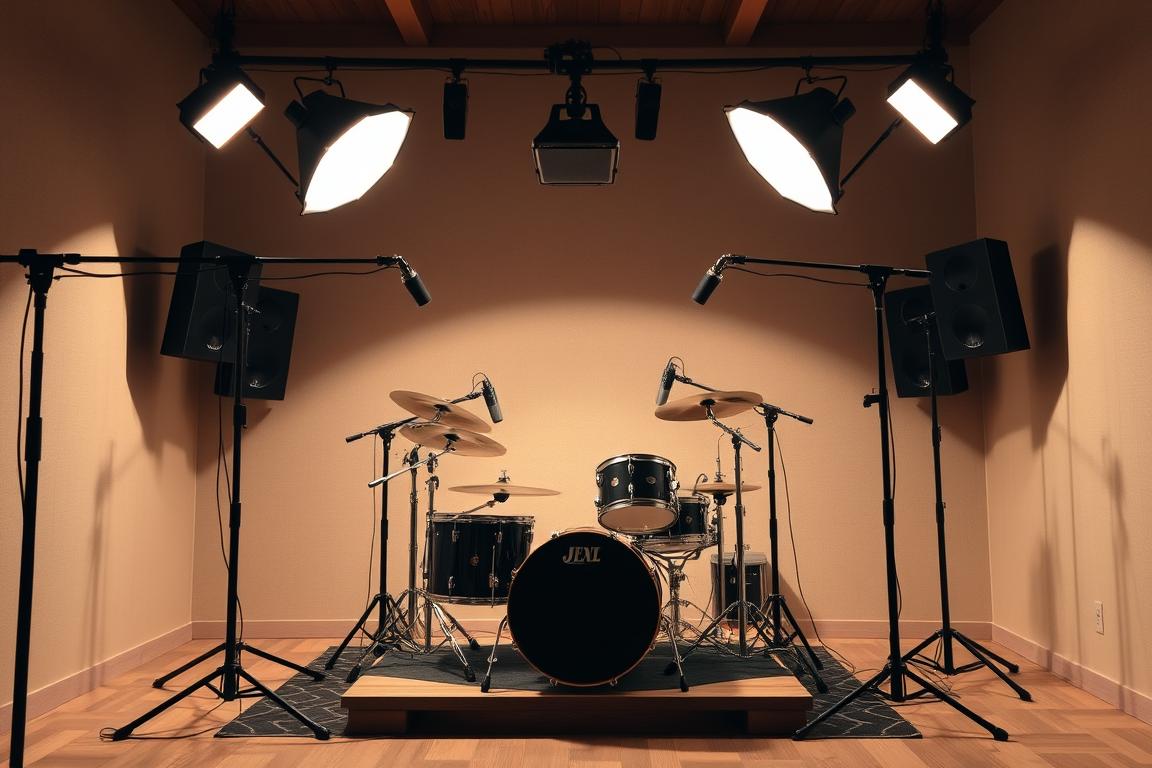
Set a clear goal before you touch gear. Decide what tone and feel you want, then let that guide mic choice, placement, and room setup.
Start with the kit and the room. Build the core picture from overheads or room mics, then add close mics to refine or emphasize parts that require clarity.
Keep levels conservative and watch headroom. A few well-placed mics often trump a crowded array of stands and cables.
Use simple dampening like Moongel, tape, or towels to tame harsh rings. Avoid parking the kit in the dead center of the room or flush against the walls.
Small moves matter: shift a mic by an inch to fix hollow blends or phasing. In low ceilings, try underheads or front-of-kit placements to keep energy and snap.
Key Takeaways
- Define the target tone and let it guide every choice.
- Make the room and kit sound right before heavy processing.
- Build from overheads/room mics, then add spots as needed.
- Prefer a minimalist mic approach over a messy mic forest.
- Plan the session flow so the drummer can focus on their performance.
Start With a Vision: Know the Drum Sound You’re Chasing
Begin with a short playlist that captures your ideal drum feel. Pick tracks that show whether you want tight, focused hits or big, roomy ambience. Listen for kick weight, snare crack, overhead shimmer, and how the room sits behind the kit.
Decide mono or stereo early. A single overhead keeps things punchy; a spaced pair gives width but needs care to keep the snare centered. Measure equidistant to the snare when using a pair so the center image stays solid.
Plan if you'll lean on overheads or room mics. Small rooms may benefit from underheads or front-of-kit placements instead of high overheads. Think about the drummer’s touch—lighter players often need extra close mic help while heavy hitters can ride the main picture.
- Document the session plan so everyone shares the same target tone and balance.
- Keep mic count intentional—more mics don’t replace a clear vision.
- Decide whether the snare, toms, or cymbals should lead, then choose mics and placement to match that goal.
Get the Kit Right First: Tuning, Heads, and Dampening That Make or Break the Session
Get the shells and heads in shape first; they decide most of the tone. Tuning with a consistent star pattern evens tension so each drum speaks clearly. The relationship between batter and resonant heads changes sustain and body, so tweak both until notes ring true.
Snare setup: choose heads that match the vibe, balance crack and body, then control ring with subtle gel pads, a snare ring, or a Big Fat Snare mat. Small moves here make the snare authoritative on recordings.
Kick and toms: check beater position and striking point on the kick; a pillow or foam inside tames bloom while keeping punch. Match top and bottom tensions on toms and spot-dampen only when needed. Give the floor tom extra attention—tape or gel near the edge can stop sympathetic buzz without killing tone.
- Make sure rattles, squeaks, and pedal noise are eliminated before tracking.
- Keep cymbals minimal to reduce spill and let the kit sit clean in the mix.
- Use reversible dampening so the drummer can fine-tune feel during the session.
Use the Room, Not Just the Mics: Placement, Reflections, and Low-Ceiling Workarounds
Let the space shape the kit’s tone before you lean on EQ or heavy processing. Small moves in placement often fix problems that more mics only hide. Listen to how the room reacts and adjust the setup until it feels right.
Positioning and walls
Move the kit away from the dead center and the walls. Placing the drum along a long wall with open sides gives more space and fewer comb-filtered reflections.
Watch corners—they can fatten the low end but add side reflections. Angle the kit slightly and test different spots.
Treat early reflections
Use gobos, baffles, rugs, and blankets to tame harsh reflections without killing the vibe. Portable baffles behind cymbals cut brittle bounce while rugs calm floor reflections.
Low ceilings and alternate overheads
In short rooms try underheads or a front-of-kit mic instead of classic overheads to avoid ceiling splash. Keep mic placement iterative—move a mic an inch, listen, and keep what adds clarity.
- Start off-center and away from hard walls.
- Use portable treatment to control reflections quickly.
- Re-think overhead position in tight studio spaces.
Build the Sound From Overheads and Room Mics
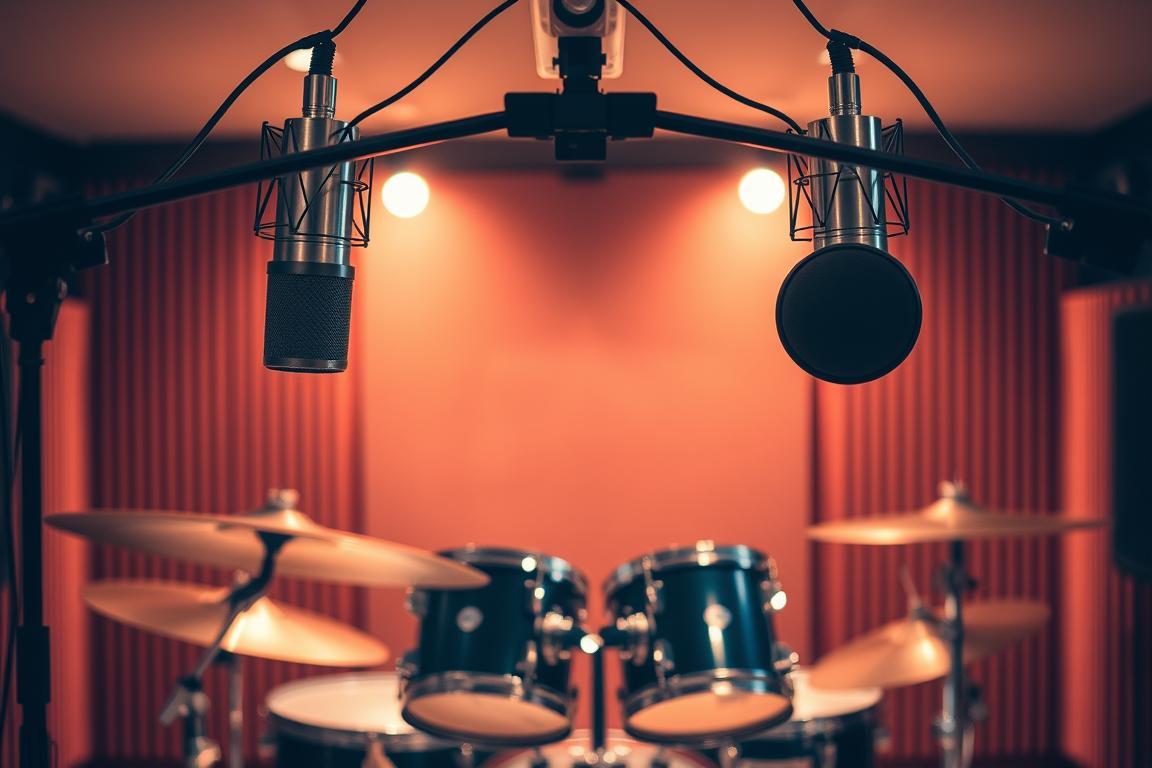
Start your stereo picture by treating overheads as the main source of the kit's identity. Overheads are full-kit microphones, not just cymbal mics, and they should anchor the stereo field before you lean on close spots.
Spaced pair placement: When using a spaced pair, measure from each mic capsule to the snare center. Equal distances keep the snare locked in the middle and preserve a cohesive stereo image.
Glyn Johns vs spaced pair: choose Glyn Johns when you want a focused center and natural perspective. The Glyn Johns layout places one mic above/behind the shoulder and one near the floor tom, both equidistant from the snare, giving controlled stereo. A spaced pair gives a wider spread but needs careful phase checks.
- Treat overheads as the main picture, then use close mics to reinforce attack or clarity.
- Blend room mics for size; if they become unruly, pull them back and rely on overheads for definition.
- Aim overheads slightly to control cymbal and hat balance, and always monitor phase between mics.
| Technique | Use When | Key Benefit |
|---|---|---|
| Spaced pair | Want wide stereo and natural ambience | Wide image requires careful phase alignment |
| Glyn Johns | Need a centered snare with controlled width | Strong center focus, natural kit perspective |
| Room mics blend | Add size and depth | Gives space; use sparingly to avoid muddiness |
Close Mics for Clarity and Control in the Mix
Small, well-aimed microphones give you control over dynamics and clarity. Start by thinking of close mics as spotlights that support the overhead picture and the room vibe. Place them to add attack and definition without fighting the larger capture.
Snare top, bottom, and hat bleed
Use a Shure SM57 on the snare top, aimed where the stick hits, to capture the crisp crack and body. Add a bottom snare mic if you need extra wire sizzle.
Angle the mic slightly away from the hi-hat to reduce bleed and keep cymbals cleaner in the channel.
Kick in/out plus sub
Pair an inside AKG D112 for attack with an outside mic for low-mid weight. Blend a Solomon subkick to anchor ultra-low fundamentals and keep the kick drum solid in the mix.
Toms: clip-ons and placement
Clip-on mics like the Sennheiser e604 give repeatable placement and keep stands off the floor. Aim to capture the strike point and keep the tom tone tight.
- Make sure each close mic supports the overheads—use them as spotlights, not the whole picture.
- Gain-stage conservatively and flip polarity if two mics sound thin.
- Label every channel clearly so the mix moves fast later.
“Character” Mic Placements That Add Vibe
If your main mics feel too clean, add a character mic to bring grit and glue. This is about texture more than fidelity. Use it to color the center and lift emotion in the take.
The wurst/knee mic
Drop a wurst or knee mic just above the kick batter and point it at the snare. Measure so it sits roughly equidistant from the snare center and the kick beater strike. A dynamic like the EV 635A works well here.
Crush that channel with heavy compression — an 1176-style push gives snare growl and tom sustain. Blend it sparingly so it adds attitude without washing out the main picture.
Front-of-kit and underhead options
A front-of-kit dynamic or ribbon tames bleed while pulling shells and kick into a single feel. Underhead placements skip the ceiling splash in low rooms and still capture cymbal detail.
- Use a figure-8 or cardioid choice to shape room pickup.
- Phase-check when adding character mics; flip polarity if the center collapses.
- Print mixes with and without the character mic to keep options.
| Placement | When to Use | Key Result |
|---|---|---|
| Knee / wurst | Need grit and glue in the center | Raw attack, responds well to heavy compression |
| Front-of-kit | Low ceilings or to blend shells | Instant cohesion, musical low-mid weight |
| Underhead | Avoid ceiling reflections | Cymbal detail with tighter room tone |
Check Phase Before You Hit Record Hard
Phase problems hide in plain sight; a quick check fixes many mysteriously thin takes. Take a moment to confirm that your mics add up, not cancel out. This saves time and preserves the kit’s natural punch.
Use your DAW’s tools — flip channel polarity and view waveforms. If a snare transient in a close mic looks inverted compared to overheads, invert the polarity on that track.
Flip polarity where needed and use your DAW’s phase tools
Start by recording a few bars. Then flip polarity on close mics against overheads and keep the setting that makes lows feel fuller.
Shift mics by inches to fix hollow or disappearing drums
Hollow or smeared transients often indicate phase issues. Nudge mics by inches rather than reaching for EQ first.
- Use the correlation meter and waveform view to confirm transients line up across track pairs.
- Make sure to test top/bottom snare and inside/outside kick specifically; these pairs often need polarity flips.
- If the center image collapses in mono, resolve it with placement and polarity, rather than relying solely on plugins.
- Keep mic cables and placements tidy so you can repeat a working setup fast.
- Lock gains after checks so headroom and perceived phase relationships don’t change mid-take.
Quick checklist: overheads in-phase with snare, toms reinforcing instead of canceling, room mic not hollowing low end. Save a phase-checked template so your future sessions get off to a great start.
Recording Drums at Home: Tips for Getting a Professional Sound in Your Workflow
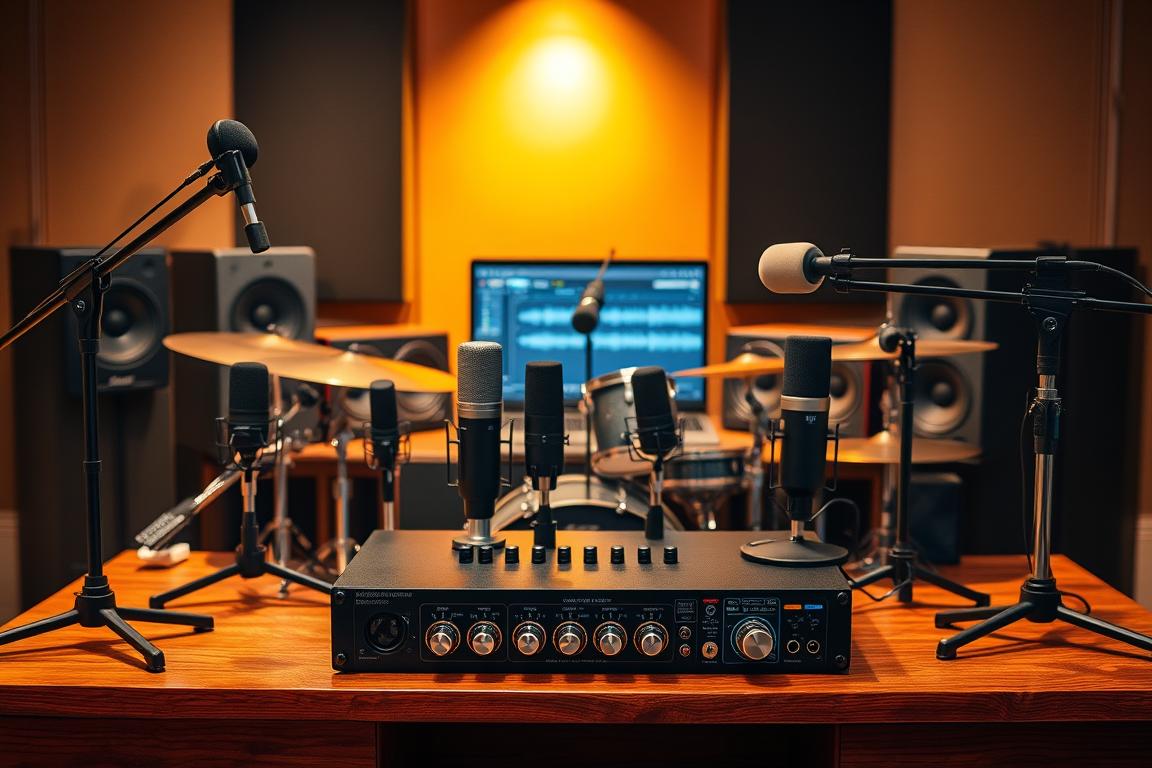
Map inputs and label channels before the drummer plays a single beat. Use an audio interface with enough inputs for kick, snare, hats, toms, and two overheads. Assign each input in your DAW and confirm phantom power only on channels that need it.
Gain-stage conservatively. Have the drummer play their loudest pass and set preamp gain so meters stay well below clipping. Leave headroom for peaks and print a safety take once tones sit right.
Session basics and quick mix moves
Set tempo, sample rate, and bit depth up front. Name and color-code each track so editing and mixing move fast. Start a rough mix with overheads and room, then bring in the kick and snare to lock the kick-snare relationship.
EQ cuts first, then compression. Remove mud, shape attack on the kick and snare, and pan from the drummer’s perspective. Use short, dark reverb in small rooms and mute any mic that makes the overall sound worse.
| Task | Why | Quick Setting |
|---|---|---|
| Input mapping | Repeatable routing | Kick, Snare, Hats, Toms, 2 Overheads |
| Gain staging | Prevent clipping | Peaks -6 to -3 dBFS |
| Session template | Save time | Drum kit routing, bus, parallel comp |
Conclusion
Wrap the day by judging the kit as a single instrument—does the snare cut and the kick sit tight together? Listen to the whole picture and let the room and mic placement guide your choices.
Do the basics well: choose and tune the drum kit, tame the ring on the floor tom, and position the setup so reflections help instead of hurting. Set overheads as your main picture, then add close mics only where the mix needs clarity.
Check phase, flip polarity, and adjust mic placement in increments of 0.1 inches until the parts lock. Use a character mic or front-of-kit channel when you want glue, but be ruthless and mute any mic that fights the balance.
Organize your DAW, lock gains, cut before you compress, and keep reverb tight. Do simple things beautifully, and your recordings will sound like the references you chased.
FAQ
Q: How do I choose a reference playlist to shape my kit's sound?
A: Pick songs that match the genre and drum tone you want. Listen for kick weight, snare crack, overhead shimmer, and room vibe. Note mic choices and processing you hear. Use these as guides for tuning, mic placement, and mixing decisions.
Q: What’s the quickest way to improve snare tone before miking?
A: Use the right heads, tune top and bottom evenly, and remove unwanted ring with Moongel or a small patch. Check tension with a drum key and play rimshots to confirm the crack and body you want.
Q: How should I treat the kick for a balanced punch and low end?
A: Set the beater position and choose a head that matches the genre. Add subtle internal damping, like a pillow or blanket, for focus. Use one mic inside for attack and one outside for low-frequency fullness, then blend to taste.
Q: Where do overheads belong for a centered snare and good cymbal capture?
A: Use an equidistantly spaced pair of X/Y at crown height so the snare sits centered. Measure from each mic to the snare to keep phase locked, and raise or lower to change cymbal-to-kit balance.
Q: What’s a quick room treatment setup for fewer reflections?
A: Move the kit away from corners, hang blankets on reflective walls, place rugs under the kit, and use movable baffles or gobos. Even small absorbers behind mics cut harsh slap and tame bright cymbals.
Q: How do I deal with phase issues between multiple mics?
A: Check polarity flip on preamps, listen in mono, and nudge mic positions by inches. Use your DAW’s phase-alignment tools or time-shift waveforms until the toms and kick feel full, not hollow.
Q: When should I use Glyn Johns instead of a spaced pair for overheads?
A: Try Glyn Johns when you want a tighter, punchier stereo image with a focused center. Use spaced pairs for a wider, airier sound—good for roomy rooms or ambient styles.
Q: Do I always need bottom snare and kick sub mics?
A: Not always. Bottom snare adds sizzle and attack; use it if bleed and phase are manageable. A sub mic or dedicated low-end pickup helps genres that need powerful LF. If it causes phase headaches, skip or mute it.
Q: How many mics are too many in a small room?
A: More mics can equal more phase and noise. Prioritize overheads, snare, kick in/out, and one or two toms. Mute or bypass channels that don’t improve the kit and rely on close mics plus a room pair for body.
Q: What mic types work best on toms in tight tracking sessions?
A: Clip-on dynamic mics like Shure or Sennheiser models are practical. They stay put, reduce bleed, and deliver consistent smack. Condensers can sound great but need careful placement and isolation.
Q: How should I set gain staging for a multitrack drum recording?
A: Aim for peaks around -12 to -6 dBFS on individual tracks to leave headroom. Set overheads slightly lower than close mics to prevent clipping from cymbals, and check the master bus never clips during hard hits.
Q: What quick mix moves help drums sit in the track fast?
A: Start with subtractive EQ to remove muddiness, add a fast compressor on the snare for snap, and use gentle bus compression to glue the kit. Add short room reverb sparingly for depth without washing cymbals.
Q: How can I get big tom tone in a short room with low ceilings?
A: Use underhead or front-of-kit overheads instead of high-spaced mics. Close-mic the toms, dampen excessive ring, and blend a small room mic placed at the end of the room for added body.
Q: What’s the “wurst” or knee mic technique, and when should I try it?
A: The knee or “wurst” mic is placed near the snare shell edge or drummer’s knee to capture gritty shell tone and bleed. Use it when you want an aggressive, compressed snare sound—often in rock or punk—then blend subtly.
Q: How do I keep cymbals clear without washing out the kit?
A: Angle overheads to favor cymbals’ top, roll off subsonic energy, and use high-pass filters on close mics to reduce bleed. If cymbals dominate, lower the overhead gain or slightly compress them to sit better in the mix.
Q: What session basics should I organize before recording a drum take?
A: Set tempo and count-in, choose sample rate/bit depth, label tracks clearly, and create playlists or takes per song section. Keep a headphone mix that makes the drummer comfortable and track punch-ins methodical.
