How to Set up Your Cymbals for Comfort and Sound
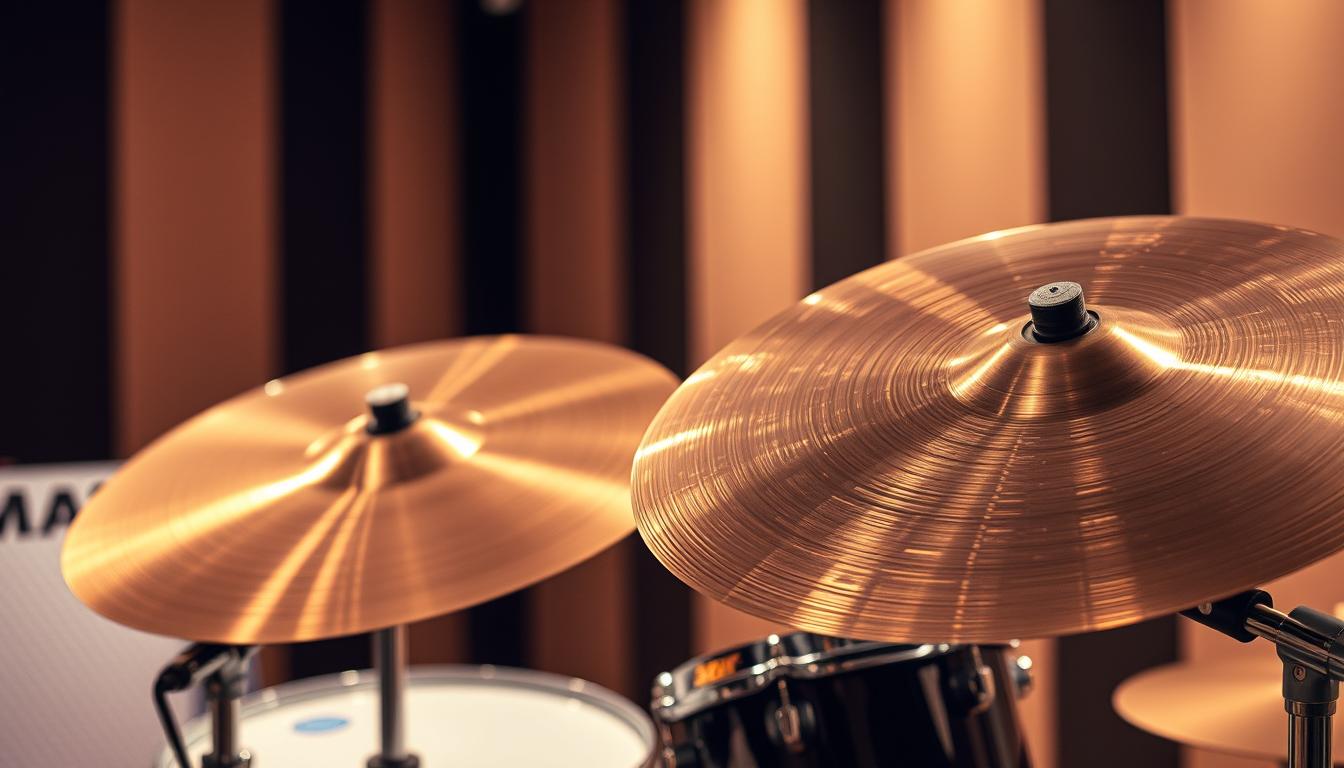
I arrange my drum kit so every move feels natural. I begin from the throne and build outward: feet and pedals, snare, toms, ride, then crashes and effects. Small position tweaks often change playability and the cymbals’ response more than you expect.
Ergonomics guides my choices. If a cymbal or drum makes me lift my shoulders or twist my torso, I bring it closer and lower the profile until it feels effortless. Teachers like Jeremy Hummel and Marc Dicciani emphasize that minor changes can yield significant improvements in comfort and tone.
I favor lower, flatter placements, as recommended by Florian Alexandru-Zorn and Jim Payne. That reduces strain and lets me reach the most-used pieces—snare, hats, ride—first. I test each move with simple beats so I can hear and feel the improvement immediately.
Key Takeaways
- Start at the throne and set pedals and feet before other pieces.
- Use ergonomics: lower and bring items closer to reduce strain.
- Small adjustments can greatly improve sound and rebound.
- Prioritize snare, hats, and ride for stability and tone.
- Adapt placement for style and room without sacrificing comfort.
Why I Prioritize Comfort and Sound When Positioning Cymbals
I make the kit feel like an extension of my body so the music arrives without extra effort. When my posture is relaxed, the cymbals open up and the overall sound becomes clearer. That simple link between comfort and tone guides every tweak I make on the drum kit.
Ergonomics matters for longevity. Marc Dicciani warns that a poor setup increases fatigue and injury risk, so I keep the most frequently used pieces close. Jeremy Hummel’s advice to avoid unnecessary reaching fits my routine: I place the snare, hi-hat, and ride where my arms stay in a neutral position.
I watch my body for warning signs like shoulder burn or tingling fingers. Those cues tell me the setup limits my ability to play well. Small adjustments—an inch lower or a slight angle—often resolve the issue and enhance rebound.
- Practical rule: prioritize comfort over looks; drummers hear timing and groove before hardware symmetry.
The goal is simple: set things so I can keep listening, reacting, and playing without being distracted by pain.
Dialing in the Throne: My Foundation for Ergonomics and Groove
I start by finding a throne height that lets my hips sit just above my knees. That tiny gap relaxes my legs and keeps my lower back from working overtime.
I sit on my sit bones so that my spine stays neutral and breathing remains easy. Jeremy Hummel’s point about avoiding too-low seats matters: if the throne is too low, my hip flexors tighten and my groove suffers.
Throne distance matters as much as height. I set the seat so my knee angle feels natural and my foot reaches the bass drum pedal without twisting.
- Centerline alignment: I line the throne with the bass drum so my right leg travels straight to the pedal.
- Small changes: I raise or lower the seat in tiny steps and play a few minutes to feel rebound and endurance.
- Watch for red flags: if my thighs are level with my hips, my back works harder and I change the position.
I treat throne tweaks as the master setting. Once my legs, back, and foot move freely, the rest of the kit falls into place faster and with less fuss.
Feet First: Aligning My Bass Drum and Hi-Hat Pedals With My Body
https://www.youtube.com/watch?v=JAEW45MxaII
I begin my setup by aligning my legs and pedals so every beat feels direct and effortless.
Keeping the right leg in line with the bass drum and pedal
I set the bass drum so my right leg points straight at the pedal. Jeremy Hummel recommends this to prevent stretching and pulling. Bill Bachman prefers the bass drum in-line with his leg to avoid lateral torque on the pedal hinge.
Avoiding lateral torque and awkward twists
I check for torque by playing steady eighth notes. If the beater wanders or my ankle feels pulled, I rotate or slide the bass drum slightly until motion feels neutral.
Practical checks I use:
- I place my foot fully on the pedal board so heel-down and heel-up transitions stay consistent.
- I match pedal spacing with my legs' natural splay to reduce hip and knee strain.
- I nudge the hi-hat so it doesn’t crowd my snare rimshot zone, preserving clean reach.
| Adjustment | Why it matters | Quick fix |
|---|---|---|
| Bass drum alignment | Prevents lateral torque and protects ankle | Point right leg straight at pedal; slide drum |
| Pedal spacing | Matches natural leg splay for less wasted motion | Set pedals at hip width, play simple grooves |
| Hi-hat angle | Keeps knee tracking straight and reduces hip fatigue | Rotate stand slightly until knee feels neutral |
| Foot placement | Enables heel-down finesse and heel-up power | Ensure full contact with pedal board |
Setting the Snare Drum for Rebound, Rimshots, and Flow
"Small changes in height bring big gains."
My first snare tweak is height—small moves that free my wrists and unlock the beat. I start near my belly button, following Jeremy Hummel’s practical tip, because this gives a reliable rebound and keeps my arms relaxed.
Flat versus tilt matters. Jim Payne prefers a flat head for consistent rimshots with both matched and traditional grips. I try flat first, then add a slight angle if rimshots or cross-stick feel off.
Bill Bachman’s approach guides my lower-limit rule: set the snare as low as possible but still clear rimshots and avoid the hi-hat leg. I check that my sticks clear hoops and hardware when I play hard rim shots.
- I aim for the bead just past the center with relaxed arms.
- I run short phrases—ghost notes, backbeats, cross-sticks—to confirm rebound and articulation.
- I make quarter-turn micro-adjustments on the stand, then play and listen.
As a drummer, I let the groove decide. If rolls speak and the backbeat locks, the snare height and angle are right for my playing.
Rack Toms and Floor Toms: Low, Close, and Easy to Reach
When my toms sit flat and near the snare, my stick paths stay short and clean. I aim for a compact rack that keeps motion efficient and tone full.
Keeping toms relatively flat to minimize arm lift
I keep my rack toms and floor toms relatively flat and low so I don’t raise my arms high. That saves energy and keeps fills smooth.
Balancing tom positions with ride proximity
I place rack toms close enough that sticks fall at a shallow angle, reducing hard edge hits and keeping the ride within easy reach. A four-piece layout helps me set the ride nearer; adding another rack can push the ride too far right.
- I check floor tom height so it sits at or slightly below the snare—this prevents awkward aim after rimshots.
- I rotate toms a few degrees so descending fills keep a straight stick path and avoid rim clips.
- I confirm I can hit every drum without shifting on the throne; if not, I bring them in or lower the height until it feels effortless.
Ride Cymbal Placement for Effortless Time and Better Bell Access
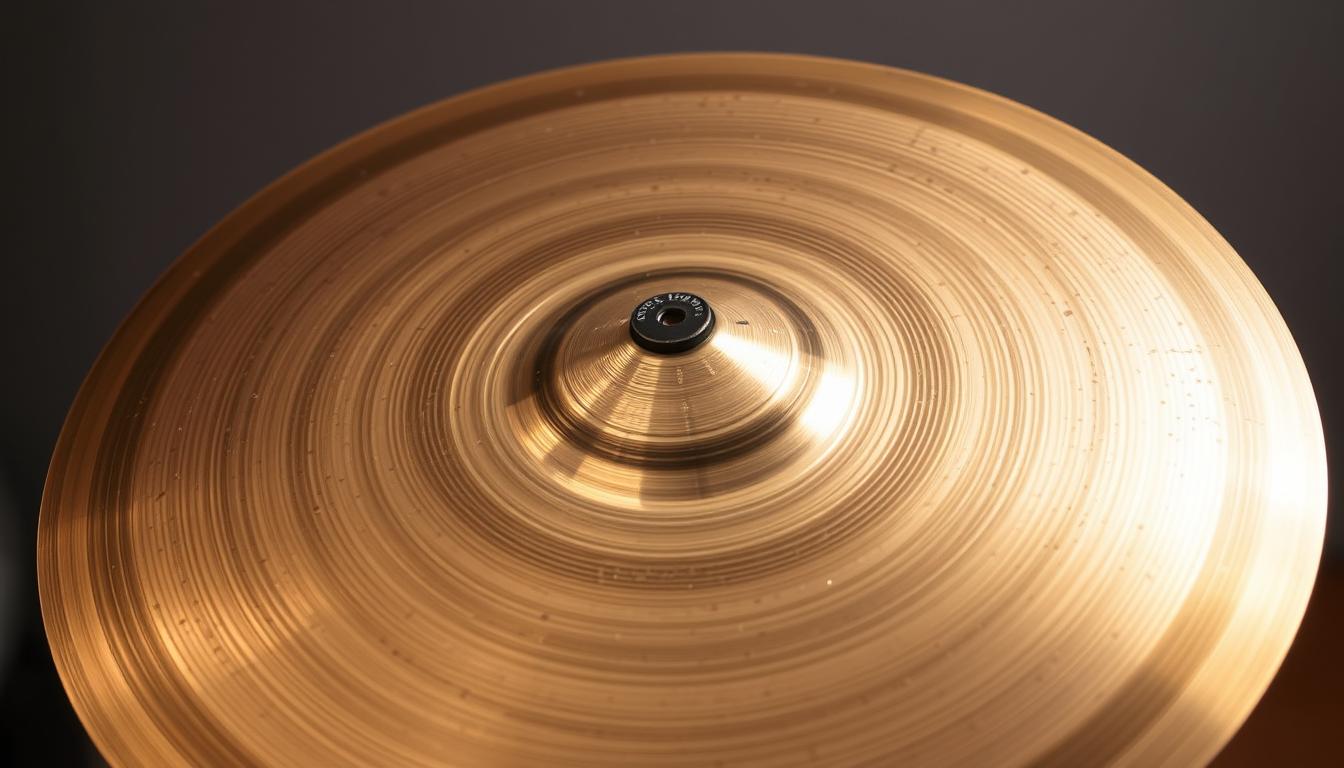
I keep the ride low and just right of center so my arm stays calm while the groove locks in. That position cuts shoulder strain and makes fast patterns feel natural.
Low and close on my right is my default. Jim Payne, Bill Bachman, and Marc Dicciani all favor lower setups because they protect the shoulder and improve access to the bell.
Angle and reach that let the stick find the bell.
I set the angle so tip strokes on the bow feel buttery, and the bell sits in my main stick path. If I must lunge, I lower or rotate the cymbal until the bell is within reach without requiring extra wrist roll.
When the ride sits above the bass
Sometimes layout forces the ride over the bass drum. In that case I keep it low and forward so my arm still tracks naturally and I can hit bell, bow, and edge with minimal motion.
- I avoid heights above shoulder level to prevent numbness and fatigue.
- I test jazz rides and rock quarters to ensure comfort at all dynamics.
- I angle the ride slightly toward me for consistent tone and control.
Quick check: tap bell, bow, and edge in sequence. If any zone makes you reach, move the cymbal lower or closer.
Crashes and Hi-Hats: Fast Access Without Arm Raise
I place crashes where my arms barely move, so accents land without a second thought. That small rule keeps my groove steady and my body relaxed.
Two crashes work best for quick coverage. I keep one just off the rack tom on the left and another near the ride on the right. This way I can hit swells and accents without lifting my elbows.
Hi-hat height and open-handed play
I set hi-hat height by style. For funk I raise the hats a bit to clear a strong backbeat, like Jim Payne suggests. For a jazz-forward ride I lower them so closed patterns sit tight.
Minimizing crossing and keeping low
Bill Bachman’s remote hat at 11–12 o’clock helps open-handed work and removes stick crossing. I keep cymbals low and slightly angled so edge crashes bloom, not choke.
- I watch that my sticks clear the stands and rims during fast moves.
- I test decay at lower heights so crashes sound full without overwhelming the kit.
How to Set up Your Cymbals for Comfort and Sound
I work in layers: a stable throne, aligned pedals, then drums and cymbals tuned around my reach.
My step-by-step process from throne to final cymbal angles
I start by setting the throne height and distance, and then align the bass drum and hi-hat pedal so my legs track naturally. Next I place the snare near belly-button height and tweak tilt for clean rimshots that don’t force my wrist.
I mount rack and floor toms low and close, angling them for short stick paths. Then I add the ride low and right, rotating until the bell sits in my main stick path. Crashes go within an easy arc from the snare so accents land without shoulder lift.
"Begin from a comfortable baseline and prioritizethe pieces you use most."
Testing reach, rebound, and stick travel with simple patterns
I run eighths on hats, backbeats on snare, and quarters on bass. I listen for even rebound and check that fills flow snare → rack toms → floor tom → crash without rim hits.
- Make half-inch micro adjustments and play again.
- Confirm pedal feel, stick rebound, and cymbal response at soft and loud dynamics.
- Lock hardware only after everything feels neutral and reliable.
| Step | What I check | Quick fix |
|---|---|---|
| Throne & pedals | Neutral leg angles, pedal tracking | Move throne; slide bass drum; adjust pedal spacing |
| Snare | Height, angle, rimshot clearance | Lower to belly-button line; tilt slightly |
| Cymbals & toms | Reach, bell access, stick path | Lower ride; bring crashes in; flatten toms |
Effects Choices: Splashes, Chinas, and Bells That Work Best for Me

My effects kit aims for quick accents with minimal motion. I select pieces that fall within my natural reach, allowing me to add color without altering my hand path. Forum players often mount splashes around 12 o’clock, place chinas to the right, and keep rides low—those setups usually make live drumming feel effortless.
Small moves matter. I clamp a tiny splash at the top of a crash arm so it lives at 12 o’clock and rings fast without lingering. That splash pairs well with a low crash in front, giving instant accents that don't drag the groove.
China's placement for dramatic hits
I put a china just to the right where my stick exits floor-tom fills. That placement makes big punctuations feel natural and keeps my arm path steady.
Bells and stacks in the main arc
I mount bells and mini-stacks between the ride and the right crash. They sit along the same travel as my sticks, so I call them in without extra reach.
- I avoid high effects; low-angle positions speak faster.
- I choose splash sizes with quick decay and chinas that cut cleanly.
- I let the gig decide—bring a lot for fusion, less for classic rock.
| Effect | Typical spot | Why it works |
|---|---|---|
| Splash | 12 o’clock on top of crash | Quick accents, short decay; complements crash |
| China | Directly right | Bold punctuation after fills; natural exit path |
| Bell / Stack | Between ride and right crash | Slots into phrases; no extra reach |
Example: clamp a splash partly over the left crash if you want central, fast hits. Over time I refine positions based on what feels musical that night. This is my best example of a setup that really works best for play and tone.
Cymbal Height, Angle, and Stand Tension: Small Changes, Big Results
I tweak height and tilt in tiny steps until each crash and ride feels natural under my hands.
Keep things low enough so your arms stay relaxed. I set the cymbal height so that my shoulders don’t climb. That simple rule saves energy and keeps the bell reachable during long patterns.
Angling for edge strikes vs bow rides
I use a slightly steeper angle when I want confident edge hits. For bow riding, I flatten the plate a little bit so the stick glides and the ride sings.
These small angle shifts change attack zones without moving stands. I test by playing bow strokes, then edge accents, and listen for clarity.
Stand felts, sleeves, and wing-nut tension for cymbal response
I adjust felts and sleeves so the cymbal swings cleanly and the keyhole stays safe. Balanced wing-nut tension is vital: too tight chokes the wash, too loose blurs articulation.
Before a gig, I revisit tension; travel and temperature can loosen hardware. Little checks keep the response consistent and reduce mid-song tweaking.
| Focus | What I check | Quick fix |
|---|---|---|
| Height | Comfort, bell access | Lower until arms feel neutral |
| Angle | Edge attack vs bow tone | Steeper for edge; flatter for bow |
| Tension & felts | Wash, rebound, keyhole protection | Even felts; medium wing-nut tension |
Room, Style, and Kit Size: Adapting My Setup on the Fly
A cramped club, a dry studio, and a large hall all require different placements; I adapt the kit so that both the music and my body work well. I start from a compact baseline and change small things until I reach a tone that feels right.
Jazz, rock, and a four-piece baseline layout
My go-to is a four-piece drum layout because it keeps the ride close and the whole footprint manageable. For jazz I lower hats and sit the ride a bit nearer for swing control.
For rock I raise the hats a touch and give the bass a firmer anchor for big backbeats. If I need the ride extra close, I cut one rack tom and bring the rack nearer.
Low ceilings, tight stages, and recording separation
In low-ceiling rooms, I lower cymbals and flatten angles to reduce wash. On tight stages, I tighten placements, bring stands inward, and protect my shoulders.
When engineers need separation, I move drums and cymbals slightly for better isolation. That small position change often helps mics breathe without harming feel.
- Example: Start compact, then adjust the height and angle.
- First, prioritize comfort, then shape the sound to suit the room.
Micro-Adjustments and Troubleshooting Common Pain Points
A slight move can make the kit feel new again and pain-free. I focus on tiny positional fixes before major overhauls. That habit often cures nagging issues fast and keeps my playing steady.
Watch the ride for shoulder warnings. Marc Dicciani warns that a too-high ride brings fatigue and tingling. If I feel shoulder burn, I lower the ride slightly and adjust the angle until my arm hangs naturally, and the bow meets my stick without straining.
Wrist strain on snare?
Raise or tilt. Jeremy Hummel’s guidance on snare height helps me maintain a neutral wrist position. I raise the snare a touch or tilt it so rimshots land cleanly without over-flexing.
Missing crashes or hitting rims?
I bring crashes and toms in closer and flatten tom angles. Forum players often say two crashes near the rack cut misses. That shortens the reach and aligns the stick path with the edge of the cymbal.
- If my lower back complains, I raise the throne so my hips sit above my knees and check leg spacing.
- If hands go numb, I lower the ride and reduce its angle so my hand stays below shoulder level.
- If foot work falters, I realign the pedal straight with my leg and nudge the bass drum to remove lateral torque.
- If fills feel forced, I rotate rack and floor toms slightly for a straighter stick path and better rebound.
"Start with the basics—throne, pedals, snare—then tweak cymbal and tom position in small steps."
| Problem | Likely cause | Quick fix |
|---|---|---|
| Shoulder burn on the ride | Ride too high or at a steep angle | Lower ride; flatten angle; test bow strokes |
| Wrist strain on the snare | Snare too low or over-tilted | Raise a bit; small tilt; try rimshots |
| Missing crash/rim hits | Cymbals/toms too far or steep | Bring cymbals in; flatten toms; add second crash |
| Foot inconsistency | Pedal misalignment or lateral torque | Align pedal with leg; slide bass drum |
Conclusion
Everything clicks into place once my throne and pedals feel neutral and comfortable. ,
I prioritize the basics: get the throne right, align pedals with my legs, then check snare and toms for clean rebound and rimshots. I keep crashes and the ride low and close so my arms and hands stay relaxed and my time stays steady.
Make tiny changes and listen. Test simple patterns across the drum kit and adjust a little bit at a time. Over days, small shifts unlock big gains in feel and sound.
When the foundation is solid, the rest of the set becomes an extension of my body and the music benefits every note.
DISCLAIMER
This document is provided for general information purposes only and should not be relied upon as providing legal advice, technical, or specific operational guidance to the reader, whether as to the practices described in the document or the applicable legal requirements and regulations. percussionpros.com expressly disclaims any responsibility for liability arising from or related to the use or misuse of any information in this document.
